Live view
Surface camera
Live view (surface camera)
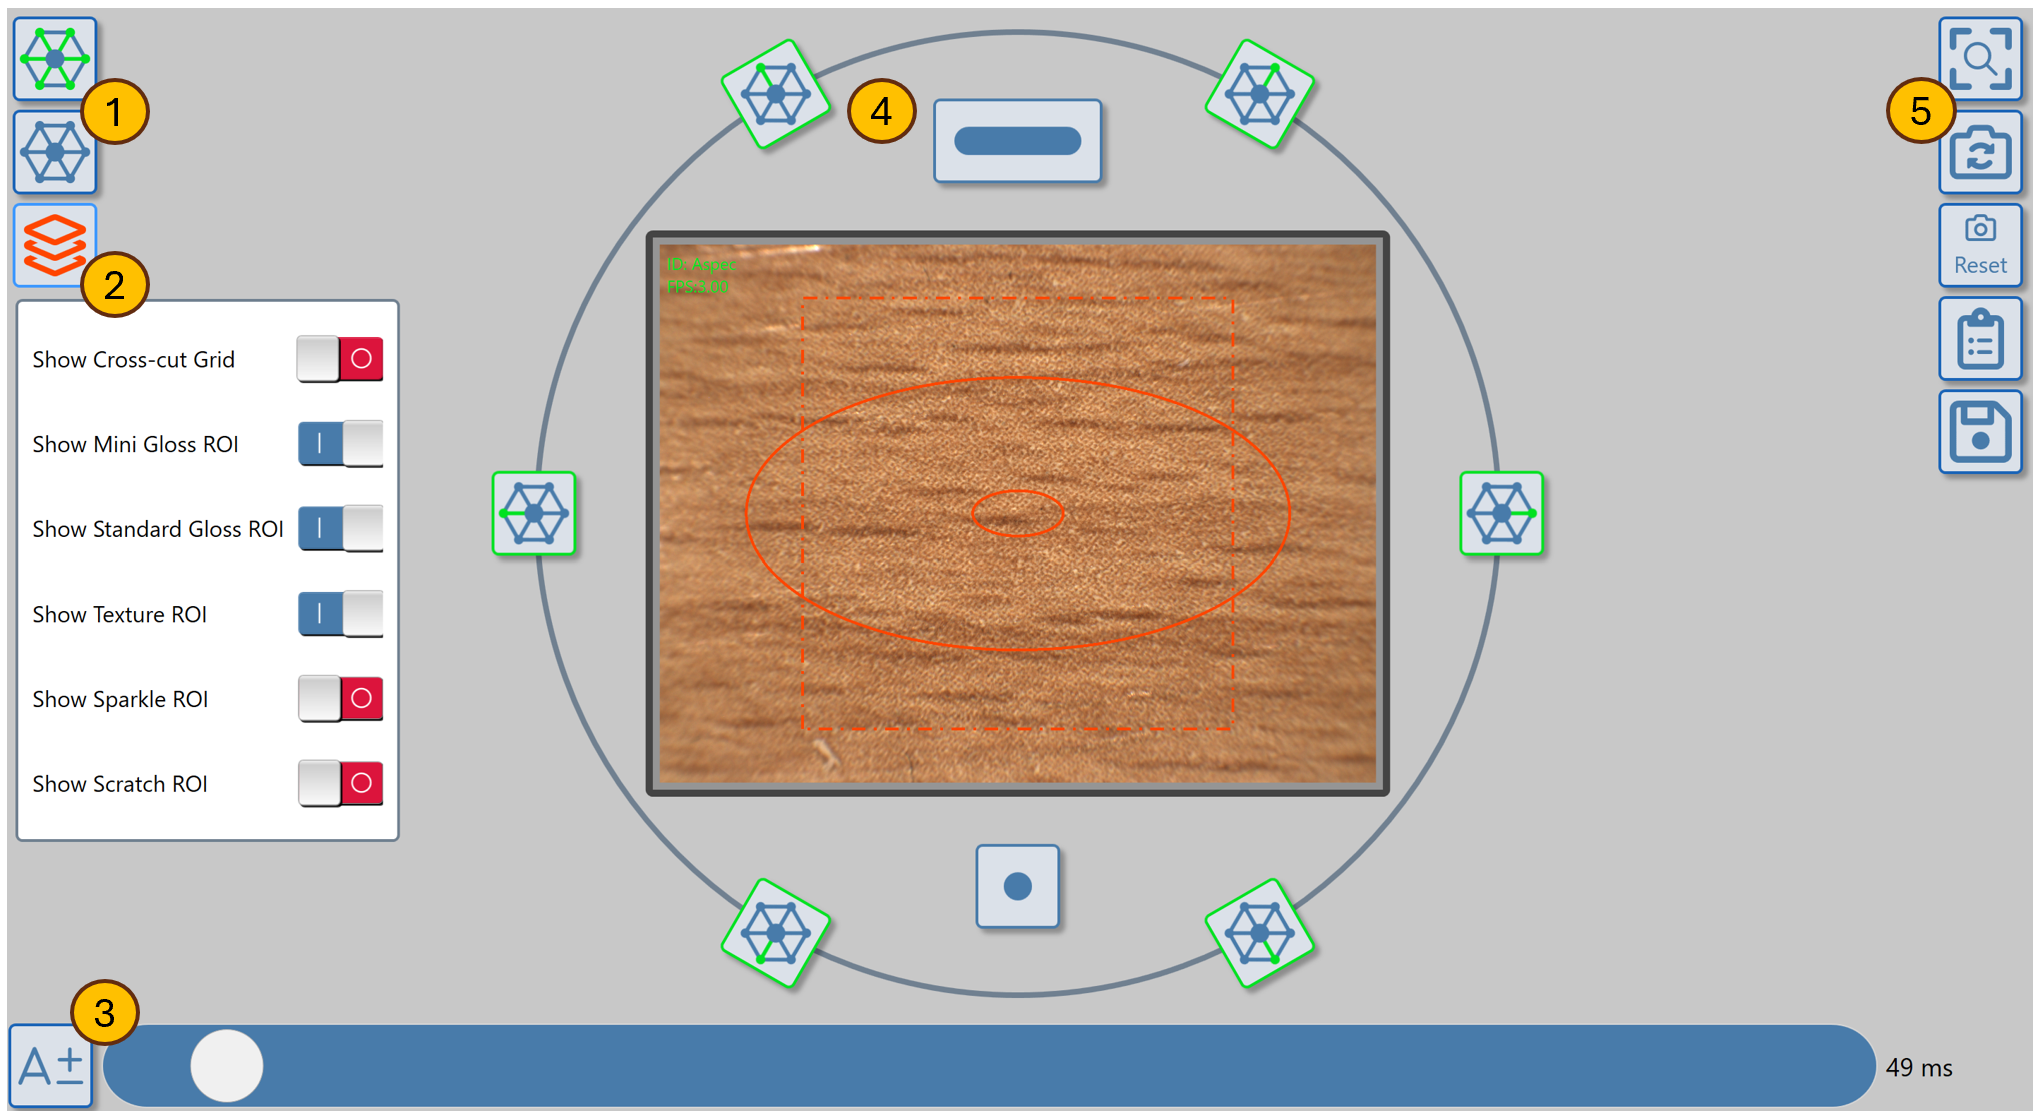
Live view mode can be used to precisely position the sensor on the surface. To access the live view, press the live view icon in the left-hand column.
Live view button
Live view mode (Surface camera)
Auto exposure (surface camera)
The Appearance Elements Software shows a live view from the surface camera. To view the surface with the optimum camera exposure, press the Autoexposure icon; the software will set the camera exposure dependent on the reflectivity of the surface. Auto exposure button
Manual exposure (surface camera)
To manually change the exposure level, use the slider or type an exposure time into the exposure input box. Autoexposure slider and input box
LED light-source controls (surface camera)
The 45° ring light LEDs can be switched singly or simultaneously using the LED control icons. 45° LED light source icons (single control, all on, all off)
The line light and spotlight can be switched using the following icons. Line light button
Spot light button
Live display explanation (surface camera)
The live display has areas which indicate where different measurements are made in relationship to the surface. Surface camera live display
Area | Description |
---|---|
Dashed square | This indicates the measurement area for sparkle. |
Large oval | This is the area where gloss parameters are measured using the standard gloss adaptor. |
Small oval | This is the area where gloss parameters are measured with the small area/curved surface adaptor. |
Gloss camera
Live view (gloss camera)
Use the switch camera icon displayed in the Live View(surface camera) to switch the camera from surface to gloss view.
Switch camera button
Auto exposure (gloss camera)
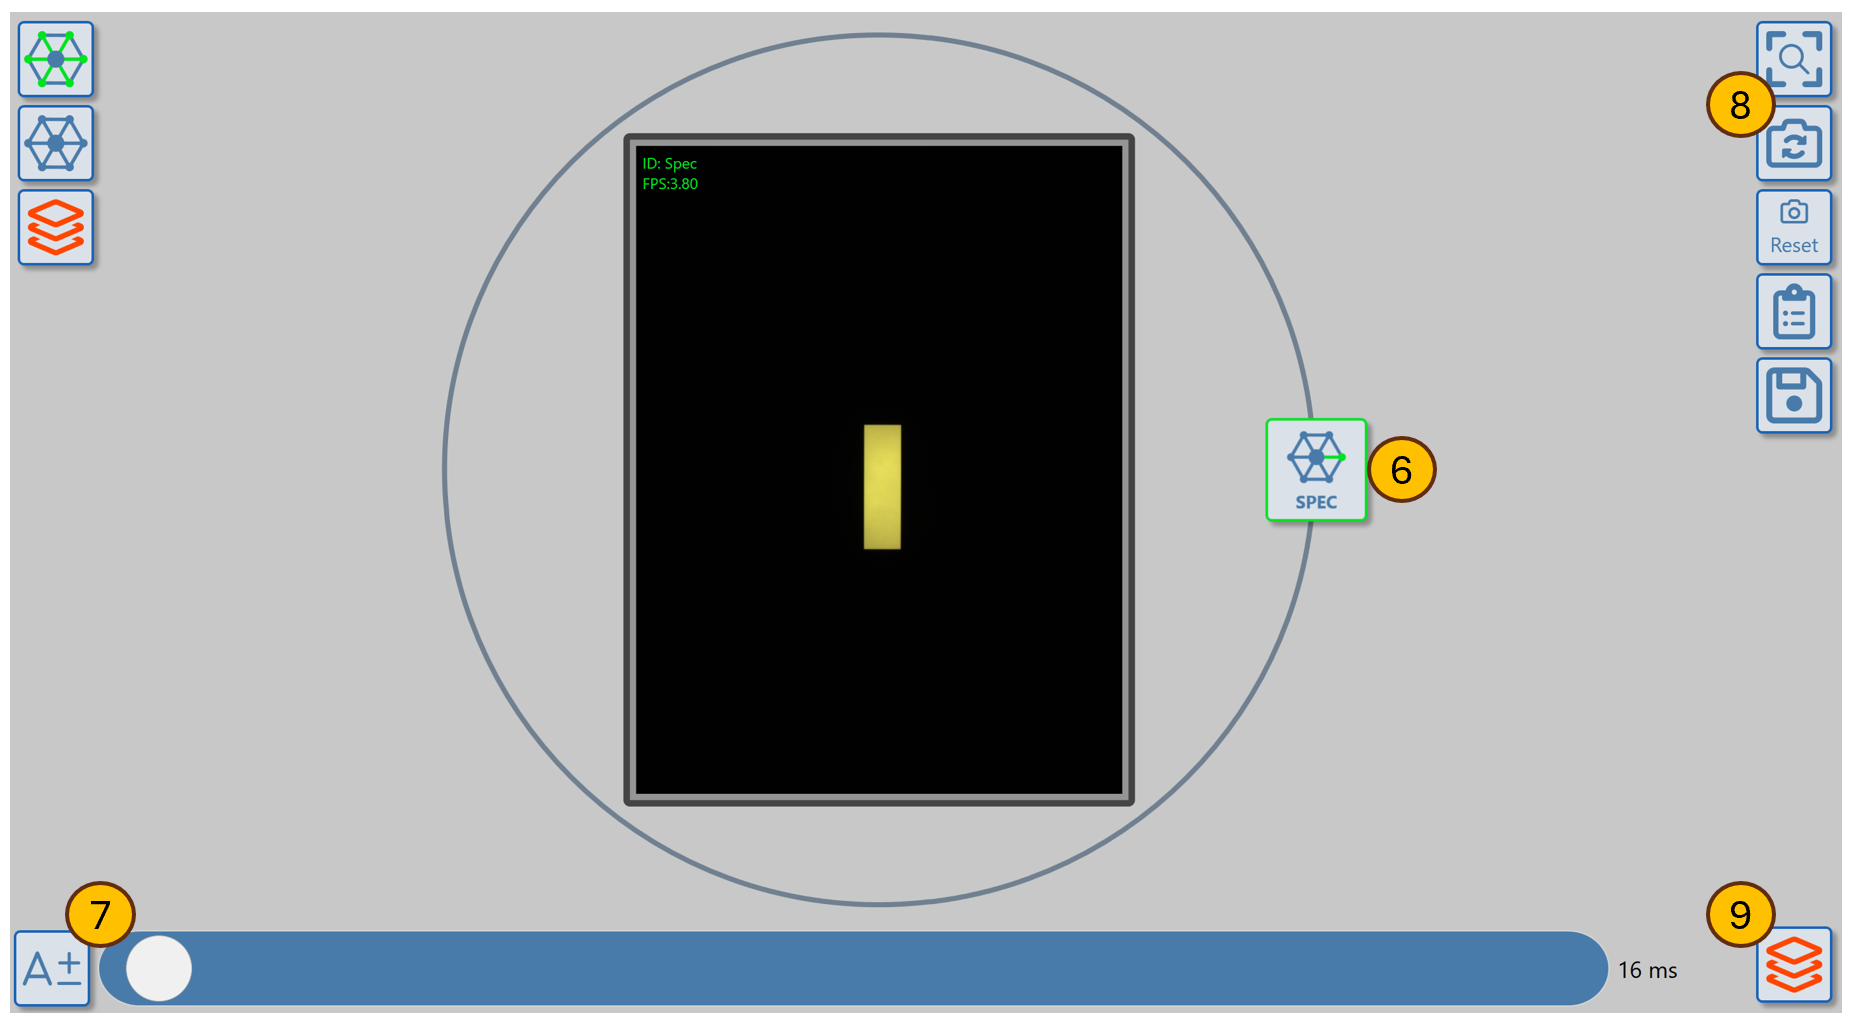
The Appearance Elements Software shows a live view from the gloss camera. To view the surface with the optimum camera exposure, press the Autoexposure icon; the software will set the camera exposure dependent on the reflectivity of the surface. Auto exposure button
Manual exposure (gloss camera)
To manually change the exposure level, use the slider or type an exposure time into the exposure input box. Autoexposure slider and input box
LED lightsource controls (gloss camera)
The specular lightsource is switched using the LED control icon. Specular (gloss) LED light source icon
The line light and spotlight can be switched using the following icons. Line light button
Spot light button
Live display explanation (gloss camera)
The red dashed on the live display indicates the target measurement area for gloss, haze, sharpness and DOI measurement. For manual measurement of curved glossy surfaces, the instrument or sample should be manipulated so the brightest part of the reflected image is positioned centrally in this area.
Gloss camera live view